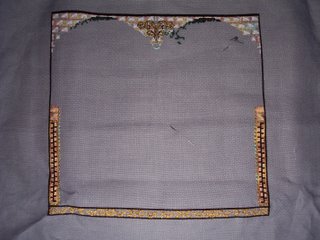
 Even though my husband photographed this sideways, you can see the progress I made. Both arch stitches are now done and all the eyelets are wrapped. There are more stitches on this, but the majority of the stitching is actually done - the rest is specialty stitches that go quickly and backstitching. I can't wait to hand it over to my husband to block and put on the box.
 I'll be happy with my entries this week - I made progress on everything. Real, visible progress. As you can see, I got five and a half more letters done of the alphabet. I might have to put the rest of the things on hold for a day or two to complete this by the end of next week, when I hope to get it in the mail to the next person - in France. Who knows when I'll get it back? It's looking pretty good so far and it's not that big a project. I needed some small things.
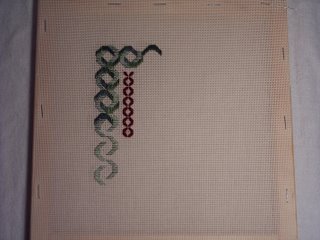
 Being the social stitching glutton I am, when I got my last issue of de fil en aiguille, I signed up for the round robin. In French. I don't speak French and -barely- read it. But so it goes. I'm in a group with five other people, all of them Francophones. We have six months to finish six pieces and so - this is the start of mine. I need to have it done in a week and a half. The design is an alphabet heart that I downloaded from the Australian version of Better Homes and Gardens. I'm using Pistachio Nut waterlilies on R&R Reproductions 28 count 18th Century Rock. Coming out well so far and stitching up pretty quickly.
 So, Wednesday night I got home from Seminar and Saturday I went to a class with my local chapter. This is the piece we started - Bargello and Buttonholes from a fairly recent issue of Needlepoint Now!. It's tilted 90 degrees - the long part that's done is supposed to be at the bottom. I did it in the Christmas color scheme. I'll be adding in gold since the ecru pearl cotton they called for. Guess I'm going to make it gaudy. Anyway, it's going pretty quickly. Maybe I can finish it soon, too.
 I got one of the corners done of the four in this part - it's come out really stunning, I think. The more I stitch this design, the more I fall in love with the detail. As of now, I'm almost done with the upper right hand corner, too, so I'm getting there. The next part looks like much less stitching than this one was. Maybe I can do some catching up?
 This is what I managed to accomplish in my two day seminar, titled Ribbons and Roses, by Deanna Powell. She taught it well and it will become a purse - but for now is out of the rotation until I can finish a project. I figured seven in rotation was enough for the moment, and probably too many. Anyway, this was a very good class for me. I'd never made bead "fabric" before, and got to learn the peyote stitch - her version - and it's not as hard as I thought. She uses two needles, which means you end up with less bulk on the side and less wasted thread. The small black square on the left is the beginning of the purse strap and the larger iridescent rectangle is one of the inside layers of the rose. The pink strip between the two is the finished outer layer of the rose - beaded pink organza. I've also started beading using a fly stitch down the areas where the ribbons join on the bag. I'm not sure I'll use fly stitch on all the seams, though.


 So, my husband decided to take extra pictures of this piece this week. I think he was sad I didn't give it to him to photograph last week because I'd made no visible progress. Anyway, I've started part two and it can be seen at the top, with the green stitching. He took a picture of the left column, which looks better in person. The desert sunset Waterlilies just looks so pretty! You can see my Rhodes stitches from part one better too, in the picture of the top middle. Part four was released earlier this week, so I'm farther behind again. I'll get it done eventually, though.


